RSS Processing
Danger
This tutorial is out of date. Please check the tutorials overview for our latest tutorials.
RSS processing pipeline
This tutorial explains how to build a pipeline that gathers and processes data from an RSS feed and alerts users when specific criteria are met. It’s a companion to a live coding session on YouTube, where we sourced data from a StackOverflow RSS feed for use in a Python service.
This tutorial has three parts
-
Sourcing data
-
Processing data
-
Sending alerts
What you need
- A Quix Cloud account.
Start for free
Book a session with us to start for free.
We will create a time-limited free account for you, and our experts will help you get started with your specific use case.
- A Slack account with access to create a webhook. (This guide can help you with this step.)
Sourcing data
1. Get the RSS Data Source connector
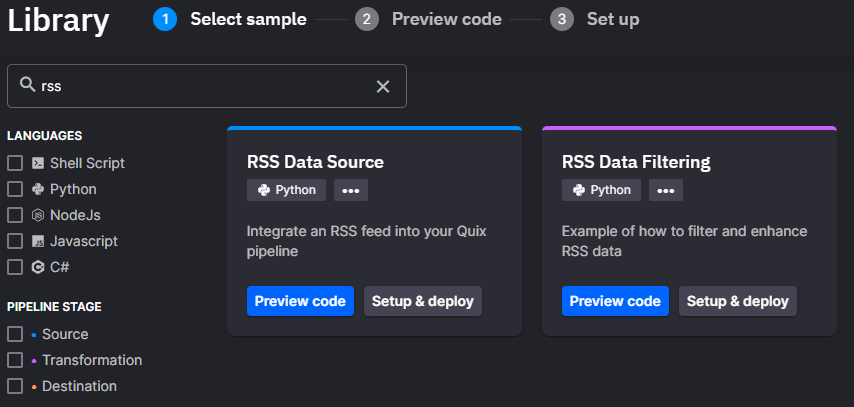
In your Quix account, navigate to the Code Samples and search for RSS Data Source. (Hint: you can watch Steve prepare this code in the video tutorial if you’re like to learn more about it.)
Click Deploy on the RSS Data Source sample. (The card has a blue line across its top that indicates it’s a source connector.)
2. Configure the connector
In the configuration panel, keep the default name and output topic. Enter the following URL into the rss_url field: https://stackoverflow.com/feeds/tag/python
Click Deploy and wait a few seconds for the pre-built connector to be
deployed to your environment.
You will then begin to receive data from the RSS feed. The data then goes into the configured output topic. Don’t worry, you won’t lose data. It’s cached in the topic until another deployment starts reading it.
Processing data
You can do anything you want in the processing phase of a pipeline. You might want to merge several input streams or make decisions on your data. In this tutorial, you’ll filter and augment data so that only questions with certain tags get delivered to you.
1. Get the RSS Data Filtering connector
Return to the Code Samples and search for RSS Data Filtering.
Click Deploy on the card.
If you created a new envi for this application, the fields
automatically populate. If you’re using the environment for other
applications, you may need to specify the input topic as rss-data.
You might also want to customize the tag_filter. It is automatically populated with a wide range of tags related to Python. This works well for this demo, because you’ll see a large return of interesting posts. But you can decrease or add tags.
2. Deploy RSS Data Filtering connector
Click Deploy on the RSS Data Filtering connector. Once deployed, the
connector will begin processing the data that’s been building up in the
rss-data topic.
Have a look in the logs by clicking the Data Filtering Model tile (pink outlined) on the environment home page.
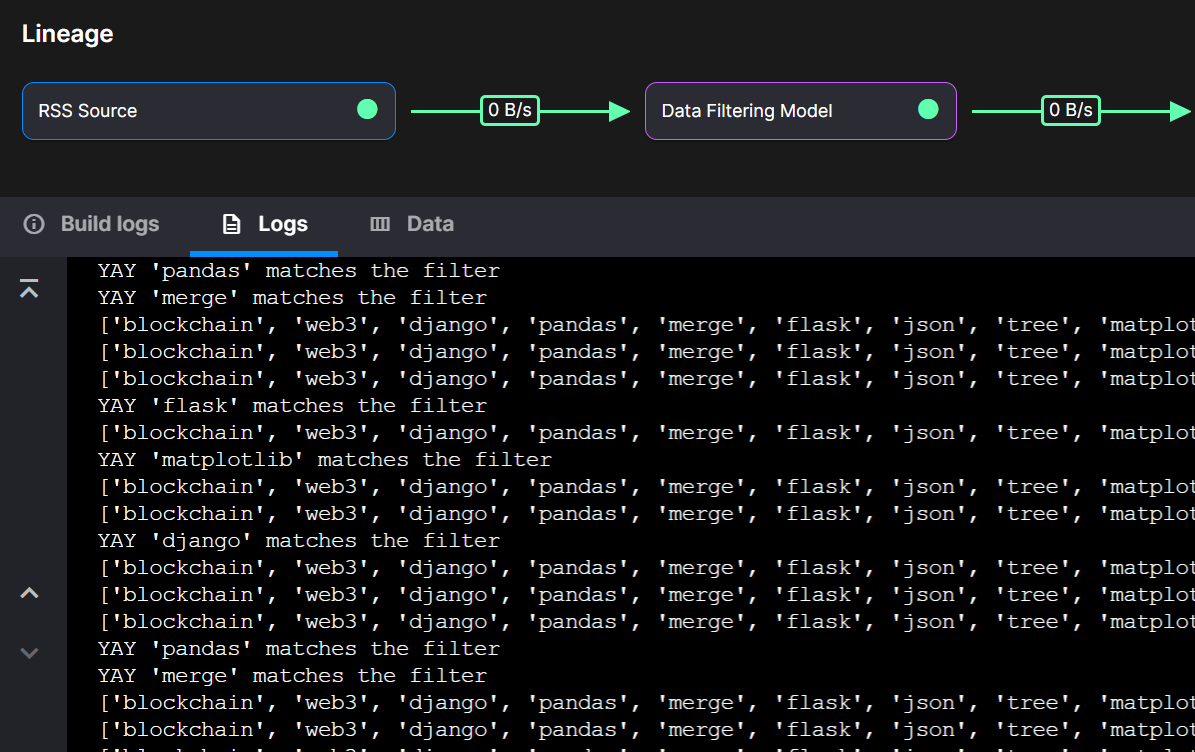
The transformation stage is now complete. Your application is now sending the filtered and enhanced data to the output topic.
Sending alerts
Last in our pipeline is the destination for our RSS data. This demo uses a Slack channel as its destination.
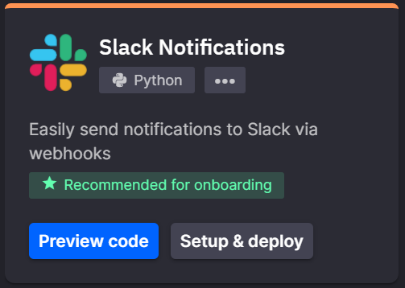
1. Get the Slack Notification connector
Return to the Code Samples and search for the Slack Notification.
Click Preview code. You’re going to modify the standard code before
deploying this connector.
Click Next on the dialog box. Ensure filtered-rss-data is selected
as the input topic and provide a Slack webhook_url.
Note
If you have your own slack, head over to the Slack API pages and create a webhook following their guide Getting started with Incoming Webhooks. If you don’t have your own Slack or don’t have the account privileges to create the webhook, you can choose another destination from the Code Samples.
Warning: Use a dev or demo or unimportant Slack channel while you’re developing this. Trust me.
2. Modify and deploy the Slack Notification connector
Enter your webhook into the webhook_url field. Click Save as Application.
This will save the code to your environment, which is a Gitea repository.
Once saved, you’ll see the code again. The quix_function.py file should be open. This is what you’ll alter. The default code dumps everything in the parameter data and event data to the Slack channel. It’ll do to get you up and going, but we want something more refined. 😉
Go to our GitHub tutorial code here. The code picks out several field values from the parameter data and combines them to form the desired Slack alert.
Copy the code and paste it over the quix_function.py file in your application in Quix.
Save it by clicking CTRL+S or Command + S or click the tick in the
top right.
Then deploy by clicking the Deploy button in the top right. On the
dialogue, change the deployment type to Service and click Deploy.
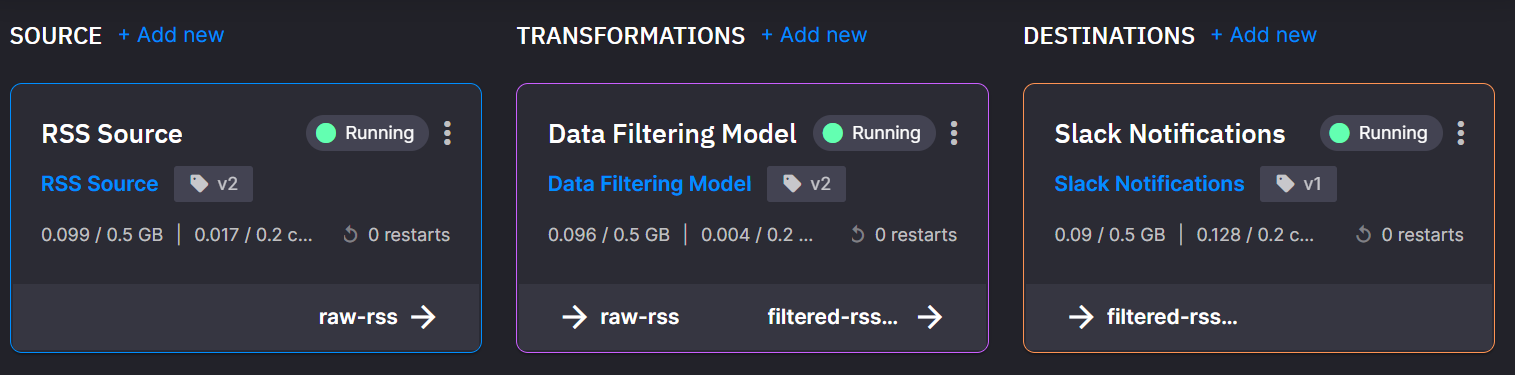
Congratulations
You have deployed all three stages of the pipeline and should be receiving thousands of Slack messages. You might be thinking that Quix has led you on the path to destroying your Slack server. But don’t worry — the pipeline is processing all the cached messages and will stop soon, honest. If this were a production pipeline, you’d be very happy you haven’t lost all those precious live messages.
Getting help
If you need any help, please sign up to the Quix Community.