Install InfluxDB v2
In this optional step you install InfluxDB v2 locally and write some test data to a bucket.
Important
If you already have an InfluxDB install containing data, then this step is not required.
You can download InfluxDB v2 from the downloads page.
You can follow the Influx install instructions for your platform.
Once InfluxDB is running you can complete the installation by navigating to http://localhost:8086.
You can use any bucket name you like. Make a note of it though, you'll use it later.
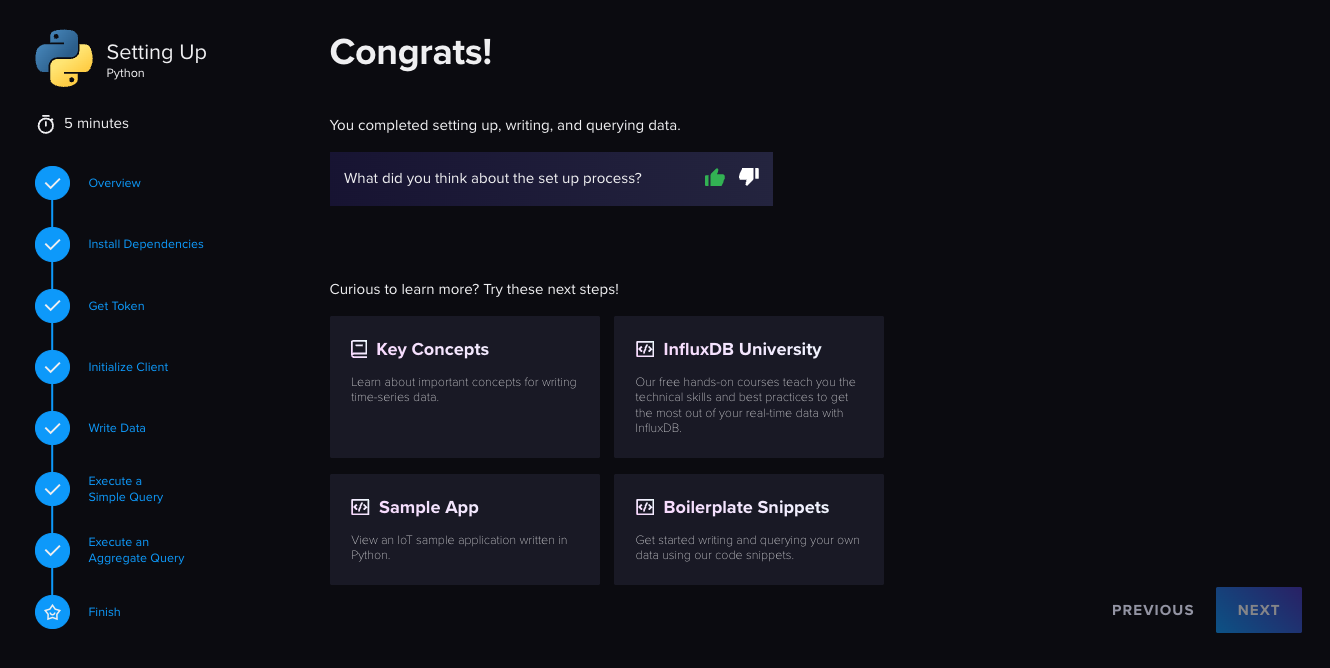
The completed getting started guide:
For your reference the code you build in the getting started guide:
import influxdb_client, os, time
from influxdb_client import InfluxDBClient, Point, WritePrecision
from influxdb_client.client.write_api import SYNCHRONOUS

token = os.environ.get("INFLUXDB_TOKEN")
org = "Quix Docs"
url = "http://localhost:8086"
bucket="telemetry"

write_client = influxdb_client.InfluxDBClient(url=url, token=token, org=org)
write_api = write_client.write_api(write_options=SYNCHRONOUS)

for value in range(5):
  point = (
    Point("measurement1")
    .tag("tagname1", "tagvalue1")
    .field("field1", value)
  )
  print("Writing value to InfluxDB v2: --> ", value)
  write_api.write(bucket=bucket, org="Quix Docs", record=point)
  time.sleep(1) # separate points by 1 second
Note that in the above code, the bucket was called telemetry.
Write data continuously
You can modify this code to create a client that writes data continuously.
Create a new bucket called servermetrics and then write and run the following InfluxDB client:
import influxdb_client, os, time, psutil
from influxdb_client import InfluxDBClient, Point, WritePrecision
from influxdb_client.client.write_api import SYNCHRONOUS

def get_cpu_load():
    cpu_load = psutil.cpu_percent(interval=1)
    return cpu_load

def main():
    token = os.environ.get("INFLUXDB_TOKEN")
    org = "Quix Docs"
    url = "http://localhost:8086"
    bucket="servermetrics"

    write_client = influxdb_client.InfluxDBClient(url=url, token=token, org=org)
    write_api = write_client.write_api(write_options=SYNCHRONOUS)

    while True:
        cpu_load = get_cpu_load()
        print("CPU load: ", cpu_load)
        point = (
            Point("server1")
            .tag("tagname1", "tagvalue1")
            .field("cpu", cpu_load)
        )
        print("Writing value to InfluxDB v2: --> ", cpu_load)
        write_api.write(bucket=bucket, org="Quix Docs", record=point)

if __name__ == '__main__':
    try:
        main()
    except KeyboardInterrupt:
        print('Exiting due to keyboard interrupt')
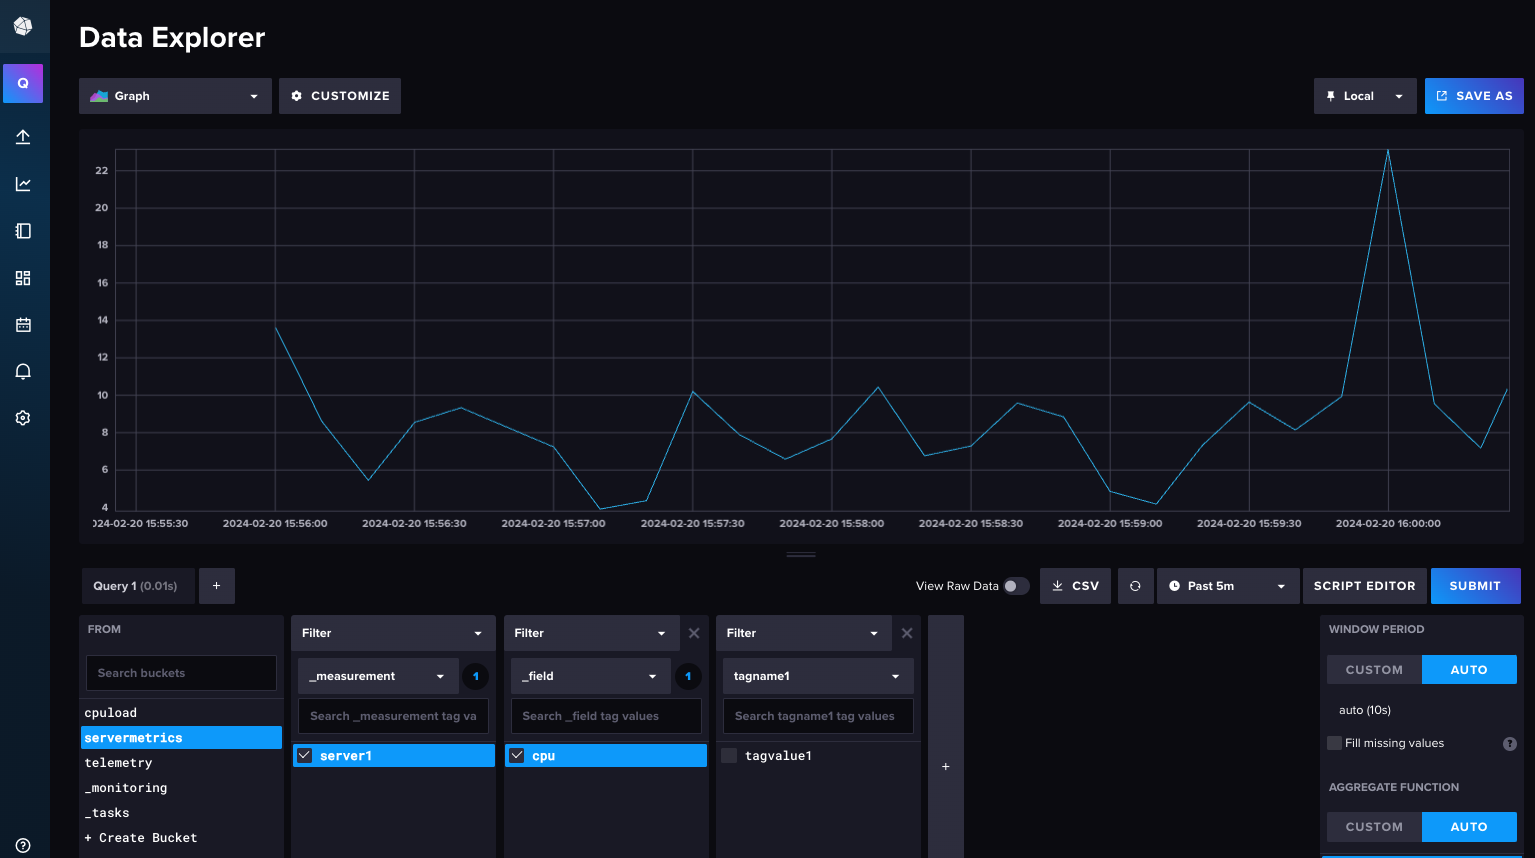
You can query your data in InfluxDB v2:
At this point you have a working InfluxDB v2 installation plus some data to migrate to InfluxDB v3.
You can now expose your InfluxDB v2 ports using a tool such as ngrok to be able to connect your local install to Quix. Alternatively, you can host your install on Railway. You can read documentation on how to host InfluxDB in Railway.