Your guide to contributing to the Quix library
When, why, and how to contribute code samples to the Quix library.


Making your life easier, one code sample at a time
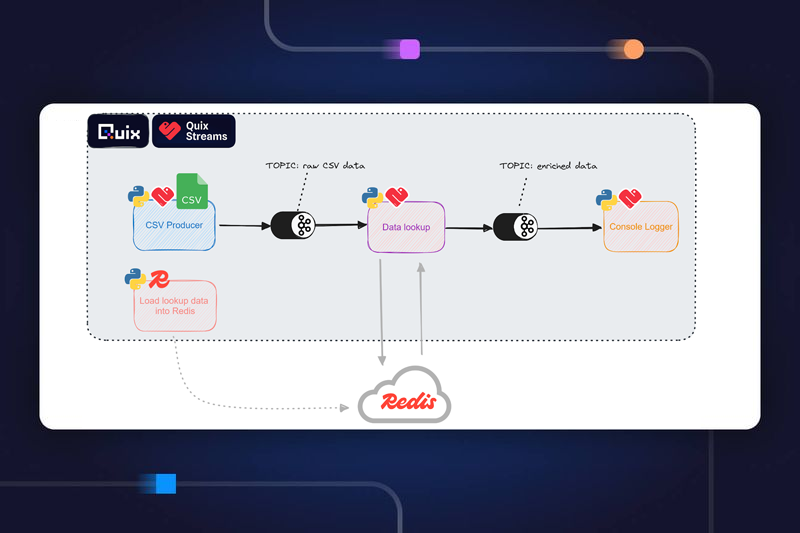
The Quix library is all about creating integrations and shortcuts for those building with streaming data. The library contains code samples, which we call connectors, which cut down on development time while remaining customizable.
The library includes three types of connectors:
- Source connectors enable you to bring data to your pipeline.
- Transformation connectors let you adapt data. Extract and load, merge, synchronize, enrich, predict or anything else you might want to do with your data — the options are endless.
- Destination connectors deliver transformed data to analytics dashboards, alerts, data warehouses or any other data application.
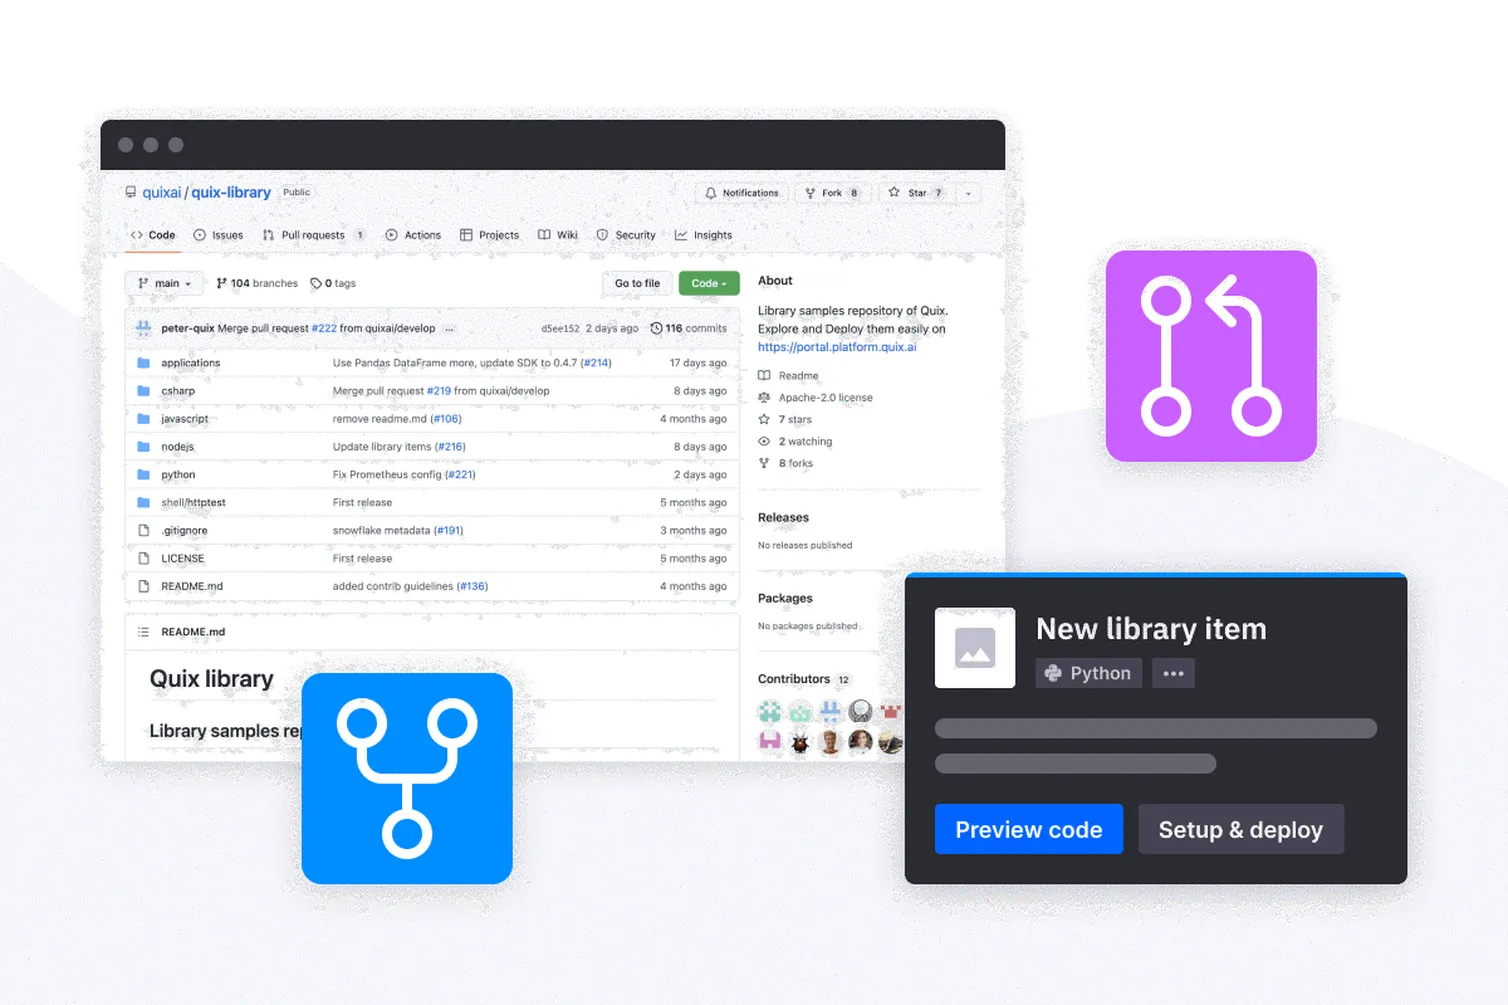
You can access the library within the Quix platform or GitHub to use prepared connectors, but you’ll build them in GitHub. Detailed instructions are included below and on GitHub. Contributors are very welcome at Quix!
How to add a new source, transformation or destination connector
- Create a fork of the quix-library
- Add a folder to the directory that best suits your project (e.g., Python>Sources>New Folder)
- Add your source code to the folder
- Complete a library.json with the relevant details for your project. When you do, ensure that you:
- follow the guidelines in the Empty folder for each directory
- include a thorough README.md that follows the template
- include a library.json that follows the template
- Submit a PR for approval, and we’ll get in touch!
That’s it — as simple as five steps. If you get stuck along the way, we’re happy to help. Visit The Stream Slack channel #quix-library and leave your questions. Someone will be there as soon as possible to offer a hand.
How to add a new application
Applications store all the code to run an end-to-end app. They are made up of multiple projects.
- Create a fork of the quix-library
- Add a folder to the Applications directory and name it something short and obvious like “chat app with real-time sentiment scoring”
- Add your source code to the folder:
- Create a sub-folder for each component project of your application, i.e., one for the chat app frontend and one for the real-time machine learning model on the backend
- Ensure you follow the guidelines in the Empty folder for each directory, include a library.json with the relevant details and include a thorough README.md that follows the template
- Submit a PR for approval, and we’ll be in touch!
How to modify a project
Follow the same pattern used when adding a new application to modify a project.
- Create a fork of the quix-library
- Modify your files
- Check the readme.md and library.json files
- Submit a PR for approval, and we’ll be in touch!
Configuring library.json
Library.json contains the metadata for the search and set-up features in the Library, which provides a smooth developer experience in the Quix portal.Both features increase the reusability of your code and helps other people use it more easily.
- Create a GUID using an online generator like Free Online GUID Generator
- “libraryItemId”: A unique identifier for your project.
- “name”: The display name for your project. Keep it short (<30 chars) and try to make it unique.
- “language”: The projects language (Python, C#, NodeJs, Shell Script, Javascript etc)
- “tags”: Additional search filters that show-up in the library. Pick two or three of the most important tags like “Complexity,” “SDK Usage” and “Pipeline State.” See Quix Library for a current list of tags. Add new tags with discretion — they may not be accepted.
- “shortDescription”: A unique description of your project. Keep it less than 80 characters.
- “DefaultFile”: Defines the default file to show when loading the project in a Code Explorer and is the default file displayed in the code preview in the Quix Library.
- “EntryPoint”: The build and deploy entry point (commonly a Dockerfile).
- “RunEntryPoint”: The Run entry point (main code file to run).
- “Variables”: Defines the external variables of the project. Variables are used to configure the project during setup in the Quix Library or programmatically from your application. Each variable will create a unique setup field in the Quix Library.
- “Name”: The display name for your variable
- “Type”: The type of variable. Use Environ
- “InputType”:
- “HiddenText” for tokens and credentials
- “FreeText” for anything else
- “InputTopic” for consuming data from topics. Multiple topics permitted.
- “OutputTopic” for producing data to topics. Multiple topics permitted.
- “Description”: The public description of the variable
- “Required”: Boolean value
- “DefaultValue”: A default value for the variable
- “SampleTemplate”: Defines whether the project is a Sample Template without ability to Save as Project or Explore the files (used for HTTP samples or similar templates using Placeholders)
- “IconFile”: Defines an icon file to show in the project card. Optional. Only required for recognised logos and technologies.
- Required shape: square
- Recommended format: .png
- Recommended size: 48×48 pixels
- “DeploySettings”: Defines the Instant Deploy settings for the project. Optional. If you configure these properties, the project will have the “Setup & Deploy” button enabled in the Quix library. This provides users with the option to deploy the project without cloning it to their own repo. It’s particularly useful for connectors (source and destinations) and applications that don’t require customization. If the settings are null, a Docker Image for this project will not be generated and the Deploy actions will not be available in the UI.
- “DeploymentType”: Type of deployment. Can be a Service or a Job.
- “CpuMillicores”: Maximum CPU millicores reserved for this deployment instance. 1 millicore = 1/1000th core
- “MemoryInMb”: Maximum memory reserved for this deployment instance. 1mb = 1/1000th GB
- “Replicas”: Number of duplicate instances of the deployment. Used for horizontal scale. Each instance will reserve the max CPU & Memory allocations.
- “PublicAccess”: Whether the service has a publicly accessible url.
- “UrlPrefix”: Prefix of the public url.
- “ValidateConnection”: Whether the Deployment process should validate the connection of the project. Specific logic is needed in the code of the project to allow the UI to validate the connection.
We’re here to help
The Quix team can’t wait to answer your questions and help you figure out how to create helpful connectors.
What’s a Rich Text element?
The rich text element allows you to create and format headings, paragraphs, blockquotes, images, and video all in one place instead of having to add and format them individually. Just double-click and easily create content.
Static and dynamic content editing
A rich text element can be used with static or dynamic content. For static content, just drop it into any page and begin editing. For dynamic content, add a rich text field to any collection and then connect a rich text element to that field in the settings panel. Voila!
How to customize formatting for each rich text
Headings, paragraphs, blockquotes, figures, images, and figure captions can all be styled after a class is added to the rich text element using the "When inside of" nested selector system.
Steve Rosam is the Head of Content at Quix, where he oversees the creation and maintenance of content for publication both in-house and externally. With a background in software development spanning two decades, Steve has experience in a variety of industries including automotive, finance, media, and security. His technical expertise now fuels his leadership in content strategy and development at Quix.
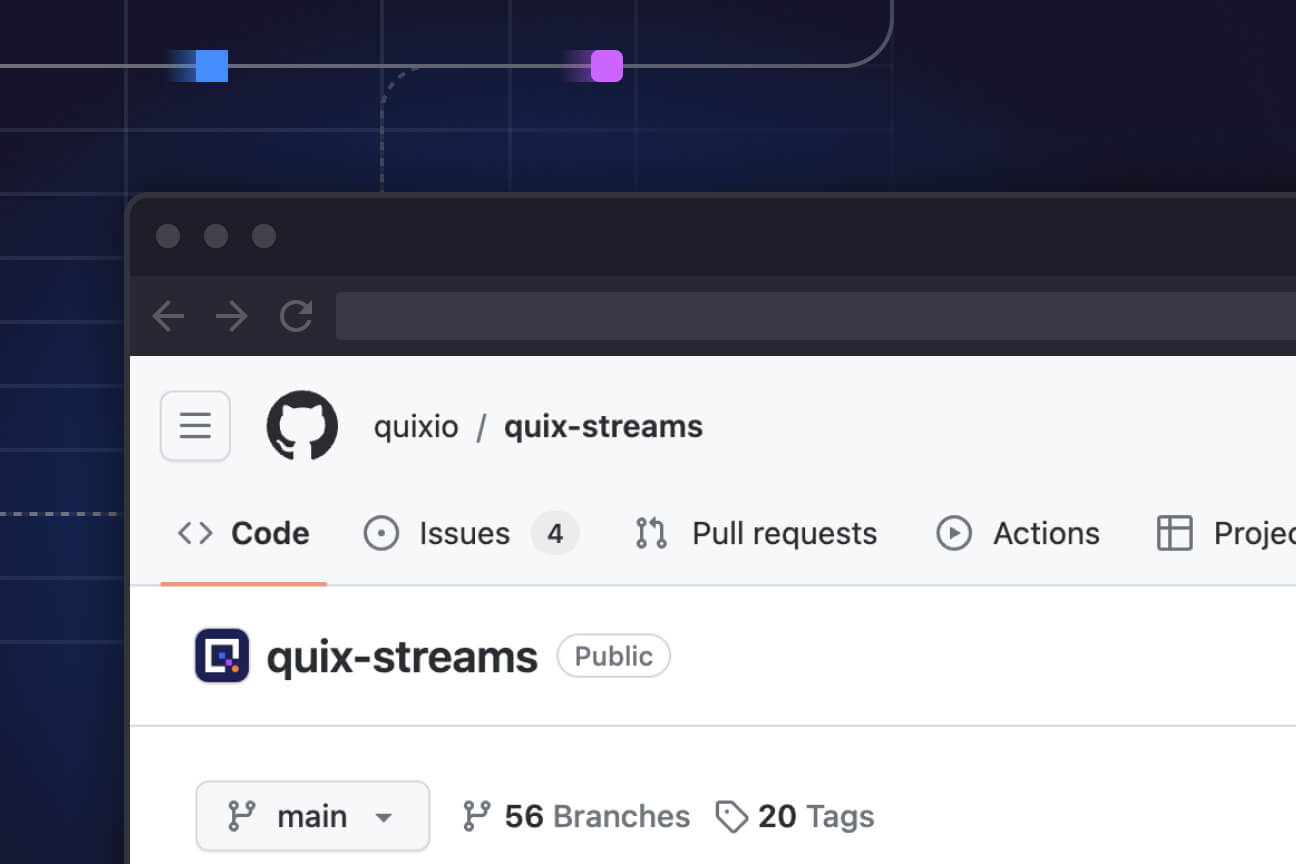
Check out the repo
Our Python client library is open source, and brings DataFrames and the Python ecosystem to stream processing.
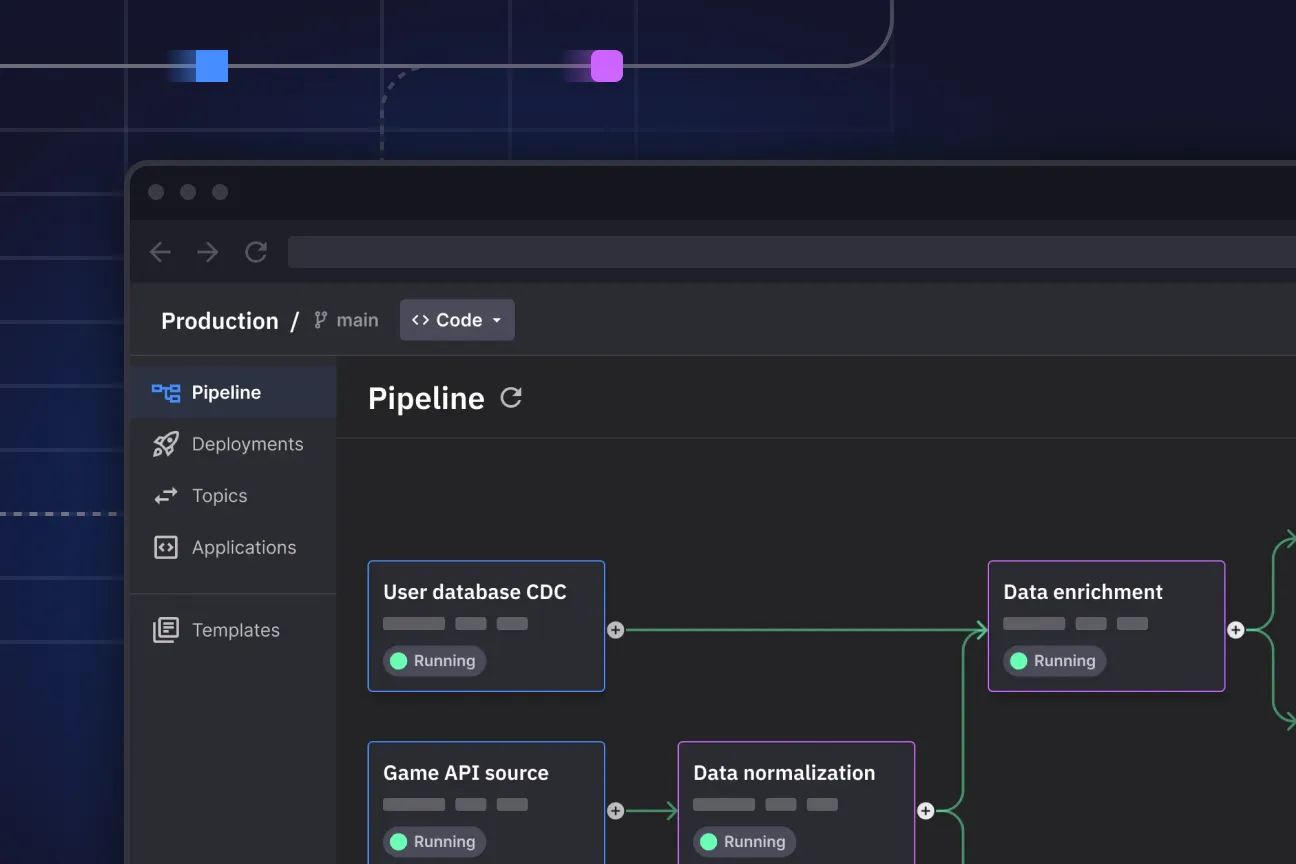
Interested in Quix Cloud?
Take a look around and explore the features of our platform.
Interested in Quix Cloud?
Take a look around and explore the features of our platform.