Your 15-minute guide to real-time machine learning
Take a machine learning project using streaming data from idea to production deployment. It takes just 15 minutes with this step-by-step blog and video tutorial.

Go from idea to production with this video tutorial
The domain of machine learning (ML) is fascinating and frustrating at the same time. There is an abundance of tools and libraries available for ML. Therefore, as a developer or a data scientist, you have many choices to test and verify ML models rapidly.
But deploying them with streaming data is a challenge.
This blog post will address these concerns and show you how Quix’s streaming data infrastructure solves these problems in a developer-friendly way. In the 15 minutes it takes you to read this blog and watch the six-minute video. We’ll also demonstrate a real-world use case for predicting loan fraud.
The mechanics of deploying a real-time ML model to production
Every ML project starts with an idea. Then it is further conceptualized by building an ML model and iteratively testing it with static data. As long as you understand the data and the problem domain, you shouldn’t have a problem with this. But deploying the same model on a production application entails additional considerations.
“Deploying an ML model that can handle streaming data at scale is as complex as constructing an actual building, with a strong foundation, utilities and all the interior furnishings.”
An ML model working with static data is like a miniaturized architectural model of a building — you keep things simple to develop the basic idea. But deploying an ML model that can handle streaming data at scale is as complex as constructing an actual building with a strong foundation, utilities, and interior furnishings.
Real-world applications produce streaming data that requires preprocessing steps to make the data suitable for machine translation. Also, the volume of data is massive, and business goals demand real-time data analysis, not just a test set of data.
The foundation of a production-grade ML model requires building an ML pipeline with multiple stages backed by a set of infrastructure components. This is an intense process that requires planning to ensure that all the components are perfectly orchestrated to perform their respective functions, such that the ML pipeline works well as a whole.
Therefore, it’s no wonder that 80% of companies encounter delays over six months to deploy an ML model into production. The ugly truth is deploying any real-time ML model to solve a real-world problem.
Common approaches to setting up ML infrastructure
Traditionally, there are two approaches to setting up the ML pipeline. You can go the Infrastructure-as-a-Service (IaaS) route by setting up everything from scratch. Or you can adopt the Platform-as-a-Service (PaaS) option.
If you take the infrastructure route, you need three components: computing, messaging and integrations.
- Computing defines the underlying CPU and memory resources that execute each stage of the ML pipeline.
- Messaging takes care of moving the data across the stages of the pipeline.
- Integrations are a set of plugins that attach to the pipeline as ingress and egress points for third-party data feeds and data access.
From the onset, setting up these components requires an entirely different set of skills than the core programming and data science skills you would leverage to build the ML models. As a result, it’s usually best to have a separate team of experts deploys and maintain the ML pipeline reliably. For enterprise applications, this is handled by MLOps.
You could also take the platform route. The individual components are combined to build a custom infrastructure, which alleviates most of the pain associated with setup. However, integrating multiple platforms does require a certain amount of time and effort to tune the system to perfection.
Hosted SaaS for production-grade machine learning
Although the platform approach is quicker than configuring infrastructure from scratch, you still risk fitting square pegs in round holes. Combining multiple disparate platforms to work in unison can lead to hasty workarounds and ugly hacks to hide their incompatibilities.
“Combining multiple disparate platforms to work in unison can lead to hasty workarounds and ugly hacks to hide their incompatibilities.”
As a result, you might have an ML pipeline that becomes inflexible to handle streaming data or is inefficient in real-time data processing. This happens if one of the platform components cannot handle such scenarios, becoming the pipeline’s weakest link.
Quix solves these problems in one shot by unifying all components into a platform with a seamless user interface. With this approach, developers get an always-live environment to iterate, test and deploy ML projects. Furthermore, all of this is done in a secure and reliable infrastructure, supporting preservation and rollback of code using Git-based version control.
Under the hood, Quix runs a fully managed serverless and elastic computing environment, along with a Kafka-based message fabric and an API to integrate with external systems. See a detailed overview of the Quix capabilities here.
Setup and deploy your first model on Quix
Let’s take the Quix platform for a test drive. We’ll show you a step-by-step tutorial to deploy an ML model and see the results in 15 minutes flat. So follow along as we deploy an ML pipeline for predicting loan fraud.
Prerequisites
Before we proceed, there are some prerequisites for you to keep in mind.
- Programming language: Quix is designed for Python. Therefore the entire code for the ML pipeline presented in this tutorial is written in Python. We also use a tiny bit of Node.js code, so familiarity with both the languages and their programming and runtime environments is necessary.
- Infrastructure: Quix uses Docker and Kafka as the main elements of deploying and serving the ML pipeline. While you do not have to understand their nuances, some familiarity is helpful.
- Sample code: The sample code for this tutorial is available in the Quix Portal’s Library Samples.
– The ingest sample is in Write, Fraud Detection Ingest.
– The clean sample is in Model, Fraud Detection Clean
– The predict sample is in Model, Fraud Detection PredictTake a look at the docs for help or watch our short companion video for examples of how to start using the samples. - Video walkthrough: To make it easier to follow the tutorial, we created a six-minute video walkthrough of the entire sequence of deploying the ML pipeline on Quix. Also, the Github repository has an accompanying README file with guided steps.
Project architecture
The ML pipeline under consideration for the tutorial is a three-stage process to ingest, clean, and predict the likelihood of loan fraud.

- The ingest_stage takes data from a CSV file containing loan application entries. It includes several fields to capture the personal, professional and other financial details of the person applying for the loan. The main source code for this stage is ingest_data.py.
- The clean_stage takes in the raw data from ingest stage and adds additional columns to transform the ordinal data fields to numeric values for better interpretation by the ML algorithm. The main source code for this stage is clean_data.py.
- The predict_stage takes the data from the clean stage as input. It uses a pre-generated model to predict the likelihood of fraud for each loan application entry received from the clean stage. The main source code for this stage is predict_data.py.
All three stages are chained together using three topics, as shown in the architectural diagram above. Additionally, there are two library files, model_lib.py and streaming_lib.py, that are common to all the stages. These files contain library functions for performing ML model and streaming operations, respectively.
The final prediction results are read from the predict_stage by accessing the predictdata-out topic through a stream reader script written in Node.js.
Deployment steps
Step 1: Signup and workspace setup — First, sign up for your free Quix account and set up your first workspace.
Step 2: Set up Quix topics — Quix is designed for working with streaming data received through topics. Therefore, you set up the topics upfront.
Video Timeline: 00:56
README Reference: Deployment Precondition > Step 2
Step 3: Set up a Quix project — First, create three projects for the three stages of the architecture. As part of this step, upload the stock source code and edit placeholders to add your account credentials and workspace settings.
Video Timeline: 01:04
README Reference: Deployment Precondition > Step 3–6
Step 4: Set up Quix deployments — All three projects are set up, and their configuration and environment variables are assigned, so now you can deploy them one by one.
Video Timeline: 01:50
README Reference: Deployment Steps
Step 5: Activate the pipeline — Before activating the pipeline, ensure no error is reported in deployment. You can trigger the ingestjob to start ingesting raw data from the CSV file if all is well.
Step 6: Access model predictions — You can access the prediction outcomes in several ways. Here we will use another library sample to read the prediction value in real time.
Video Timeline: 04:28
How to use Quix for machine learning projects at scale
If you ever wondered how tough it would be to deploy an ML model at scale, it’s time to take it easy. At Quix, we’ve taken a developer-first approach to help you focus on crafting the most accurate ML model for your application while we take care of the complex infrastructure to work with streaming data.
The potential applications for using Quix in developing and deploying machine learning models in the real world are limited only by your imagination. Companies that use streaming data to drive real-time products and decisions will benefit from a faster, simpler platform. This helps them accelerate time-to-value in building products, and gain faster time-to-insight using ML to reveal new knowledge.
Industries that benefit from this platform include financial services, automotive, manufacturing, gaming, IoT products, healthcare, e-commerce, technology and media.
Stay tuned for more interesting tutorials and demos on Quix, and please give us a shout and tell us about your impressions of the platform.

Check out the repo
Our Python client library is open source, and brings DataFrames and the Python ecosystem to stream processing.
Interested in Quix Cloud?
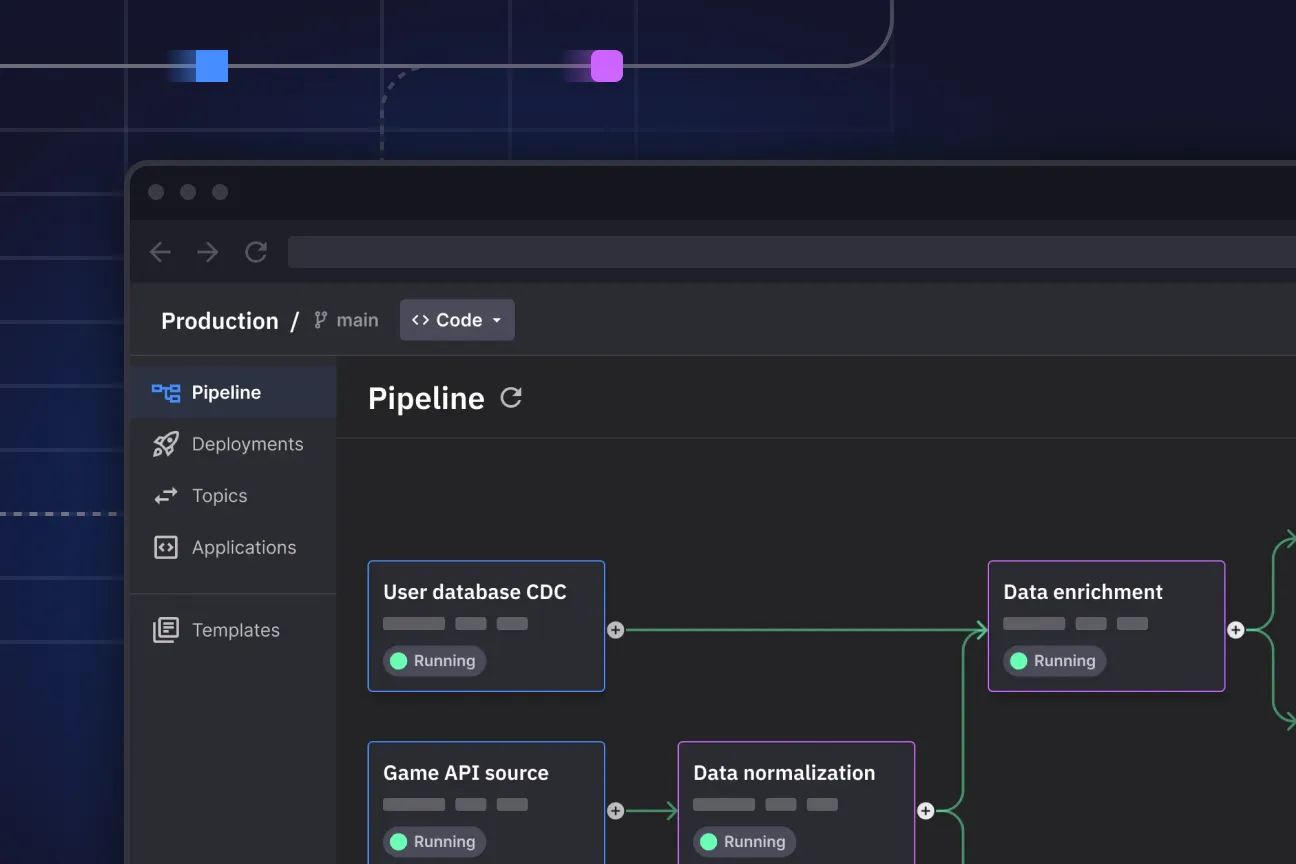
Take a look around and explore the features of our platform.
Interested in Quix Cloud?
Take a look around and explore the features of our platform.

.svg)


